10 Tips for Going Tubeless On Your Mountain Bike
We advise for our mountain bike holidays that you always, always, always bring your bike, already set up as tubeless. For most of 2010 I have been running a tyre set up that I find perfect, using standard Maxxis tyres but running them tubeless. The advantage of this set-up is that you don’t have to pay the weight penalty for tubeless tyres and you increase your choice of tyres. The disadvantage of not using a proper UST tyre is that you need to keep the pressures up a bit to make sure that they don’t roll off the rims. For me the only real advantage over tubed tyres is the lack of punctures; with tubes I get around a puncture a week, however with this set-up I generally get 3 months with zero maintenance before having to change the tyres.
Tubeless Set Up Notice
This post is due an update, we will do it over Christmas 2020. To be added are:
1. Repairing tubeless tyres
2. Recommended pumps / inflation device
3. Rim protection – our experience
4. Repairing your tubeless tyres
If you have anything you would like us to add then please just add to the comments.
Getting Prepared
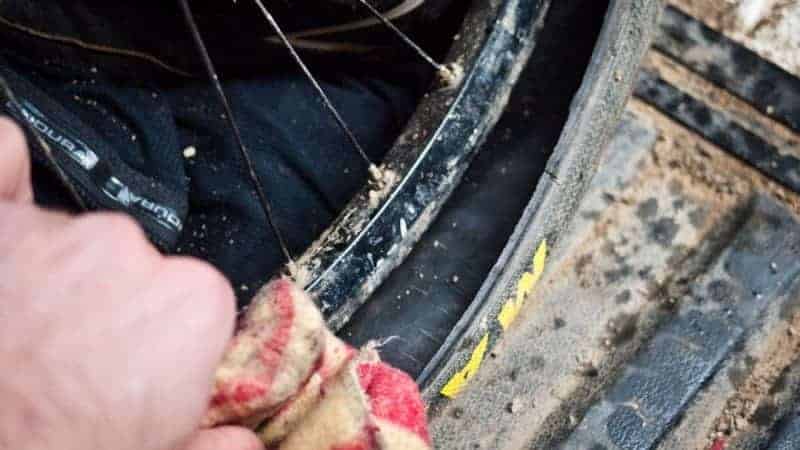
The Rim: First of all you need to check your rim. You will find it a lot easier a UST rim, I use both Mavic 819’s and 823’s, however you can use any rim with a suitable rim-strip. Now you need to inspect the rim carefully, if there are any big dings on it then you won’t be able to use the rim. You now need to clean your rim until it is spotless; it needs to be like new.
The Tyre:I find that wire bead Maxxis tyres work best. I haven’t tried any tyres that are narrower than 2.25 but I don’t think this should present any problem. The tyre also needs to be very clean and if it has been folded for a while then you are best to inflate it on the rim with a tube and leave overnight to get the folds out and let it take it’s round shape again.
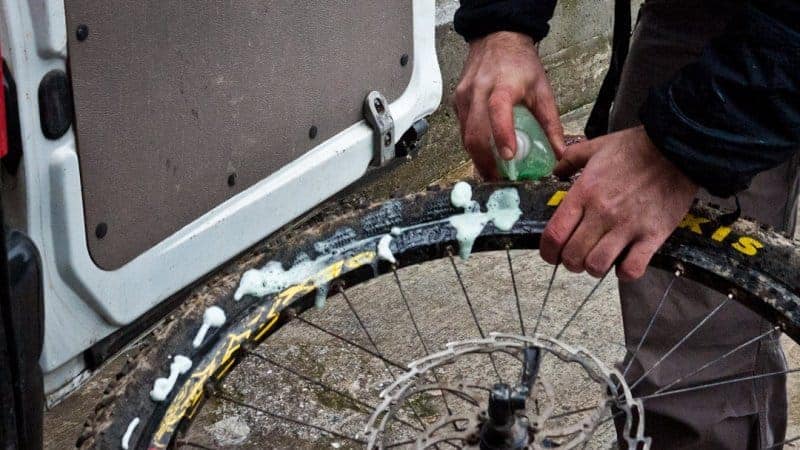
The Lubricant: You need to lubricate the tyre bead and rim to get it on easily. Make up a very soapy water mix, in generous quantities and have a paintbrush handy to apply it liberally.
The Latex Solution:You need a fair bit of this, I just put in a good pour, maybe about 100ml, but you can experiment with this. I have used the commercially available solutions and they are good but expensive. The other solution is to take some art latex and dilute it with water until it is about the consistency of maple syrup (mmmmm maple syrup). If you are doing this then we find that adding a small amount of bleach makes the solution work better, don’t ask me why! In addition, if you are very keen you can grate up an old tube and add that to the solution, it means it will plug bigger holes better.
The Inflation:See my compatibility table below to get an idea, however some tyres will go up with a track pump and some need a petrol station tyre inflator. I have found that there is a lot of variation in the air flow provided by these garage’s so it’s worth checking a few if you are having problems.
Getting Started
So, you’re ready to start. Check the tyre compatibility table and decide whether you want to use a track pump or a garage compressor and then follow these steps:
1. Take your very clean rims and tyres. Put the tyre on the rim (right rolling direction and logos aligned will save you heartache later on!).
2. Optional step. Put a tube in and inflate, leave overnight and carefully pop one bead off the rim and extract the tube. This means that at least you have one bead fixed into the rim. It’s not always needed but I normally do this as it’s quick and saves a bit of hassle.
3. Put in your tubeless valve. Add in the adaptor to convert it to the fat valve (schrader).
4. Add in about 100ml of your latex solution. You can adjust this to suit you, more = less chance of punctures, less = lighter.
5. Paint rim and tyre bead liberally with soapy water, this is essential.
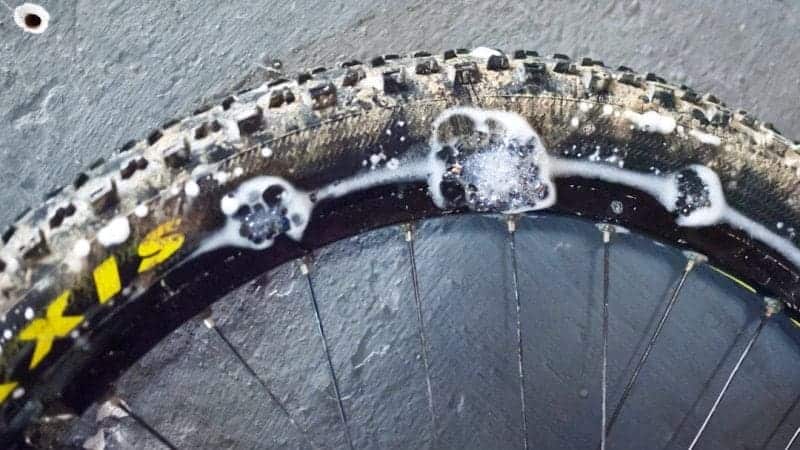
6. Apply air and bounce tyre about a bit. If you’re using a garage compressor then be very careful not to over inflate, 50-60psi is more than enough! If you are using a track pump then pump like mad, if you’re not sweating then you’re not pumping hard enough.
7. I have never had a problem with this, if you are having a problem check my possible solutions below.
What Went Wrong
So, it didn’t work. What could have gone wrong?
1. Have you used enough soapy water? This is essential.
2. Were you trying with a track pump? Maybe you need a garage?
3. Were you using a garage compressor? Maybe you need to find a garage with a better air flow?
4. Did you use a tube to fit one bead first? Try it.
5. Was there enough latex in there? That normally means the tyre deflates over a few minutes after inflating.
6. Was everything clean? It needs to be clinically clean, honestly!
Tyre Compatibility Table
These are just the tyres I have tried.
| Tyre | Track Pump? | Garage? | Longevity |
| Maxxis High Roller 2.5 UST | Yes | n/a | Until the tread wore out |
| Maxxis High Roller 2.35 SinglePly Kevlar | No | Yes | ~3 Months |
| Maxxis High Roller 2.35 SinglePly Wire Bead | Yes | n/a | ~6-9 Weeks |
| Maxxis Minion 2.35 SinglePly Wire Beed | Yes | n/a | ~6-9 Weeks |
| Maxxis Advantage 2.25 Singleply Kevlar | No | No | n/a |
| Maxxis Advantage 2.25 Singleply Wirebead | No | Yes | 6 weeks |
| Maxxis Larsen TT 2.25 Singleply Wirebead | No | Yes | 6 weeks |
In Use
So, when in use there are a few things you need to remember:
1. Keep your pressures about around 30psi then gradually decrease. A lot of the issues we see are from people thinking that they can run sub-20psi! Note: I am about 80kgs so if you’re heavier you might need more, if you’re lighter you might get away with less. If you don’t get the pressures high enough you will roll the tyre off the rim or burp air out, or you will pinch flat the tyre carcass.
2. Check pressures regularly, if you’re loosing pressure you need to add more sealant probably. A slow leak can mean you violate the 30psi rule and end up on your face!
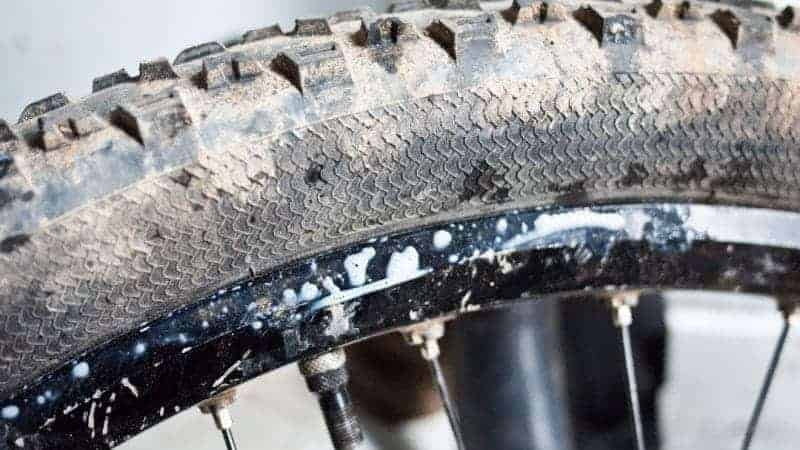
3. Keep an eye on the tyre condition, if you get wear (generally in a cross shaped pattern on the sidewall) then you need to change for new tyres because these will split soon.
4. Always carry a spare tube.
5. I carry a spare valve and a CO2 canister.
6. The locals carry a syringe full of latex with a fairly thick needle. I’m from Glasgow and don’t feel comfortable with this! The idea is that if you loose all your sealant you can inject new sealant without unseating the bead. I think it´s not necessary.
Book your BasqueMTB Mountain Bike Holiday!
Find out more


Write a comment